Having trouble with your Wavlink extender? Slow speeds, weak signals, or frequent dropouts? Don't worry! Our comprehensive troubleshooting guide will help you resolve common issues and get your Wavlink extender back on track. From power cycling to configuring the extender correctly, we provide step-by-step instructions to ensure a smooth and reliable connection. Read now to solve your Wavlink extender connectivity problems effectively.
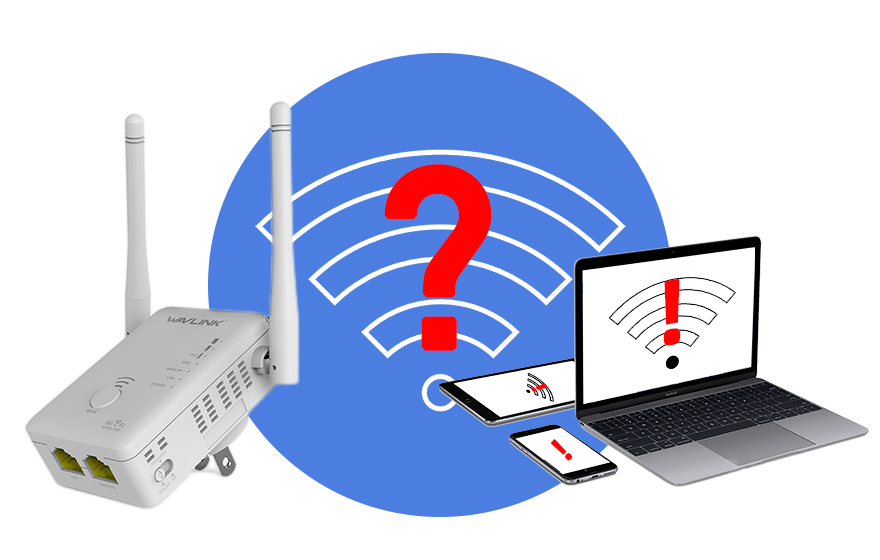
Is your Wavlink extender causing you problems? Can't seem to find it in your list of available networks? Suffering from slow speeds, weak signals, or frequent dropouts? Or perhaps it's not connecting to the internet at all?
No need to fret; we've got your back. Many common Wi-Fi extender issues can be easily resolved.
In this guide, we'll dive into the potential reasons behind these problems and provide a clear, step-by-step troubleshooting process to get things back on track. We'll also tackle some frequently asked questions about setting up your Wavlink extender.
Why Your Wavlink Extender Isn't Working
Let's start by understanding why your Wavlink extender might be acting up. Here are some common culprits:
Troubleshooting Steps for a Non-Functioning Wavlink Extender
Follow these steps to fix the issue when your Wavlink extender isn't working:
1. Power Cycle the Extender
Sometimes, a simple reboot can do wonders. Before diving into advanced troubleshooting, try power cycling your Wavlink Extender. This action clears the device's short-term memory and can resolve minor errors, resulting in smoother operation.
Here's how to power cycle your extender:
2. Verify Extender and Router Connection
If the extender fails to establish a connection with the router, it won't be able to share the primary router's internet. Your Wavlink extender can connect to the main router in two ways: via Wi-Fi or an Ethernet cable.

If they're connecting wirelessly, ensure that the Wavlink extender is plugged into a power outlet within the range you want to extend, without being too far from the main router. There should also be no concrete or metal walls between your Wavlink extender and the main router.
You can check if they're connected by looking at the green lights on both devices. No green lights? Try moving the extender closer to the router until it gets a strong signal. Avoid placing it in corners or cabinets; opt for a central location.
If adjusting the positions of both devices doesn't establish a stable Wi-Fi connection, consider using an Ethernet cable to hardwire the Wavlink extender to the router for a more reliable connection.
3. Check if Devices Are Within the Extender's Range
Your Wavlink extender broadcasts a wireless network (SSID), typically named "wavlink_ext" (unless you've customized it through the management panel). If you have multiple routers at home, ensure that you're connecting to this network name (SSID) and not another one.
The distance between your devices and the wireless access point is referred to as the "Wi-Fi range." This range can vary significantly depending on the types of devices and the network environment in your area. So, check if your phone and computer are within the range that the extender can cover.
If you have many smart devices or bandwidth-hungry activities like streaming on Netflix, it can lead to dropouts due to bandwidth competition. In that case, consider adding another extender or access point.
4. Correctly Configure the Wavlink Extender at 192.168.10.1
If the previous methods haven't resolved the issue of the Wavlink extender failing to connect to the internet or other problems, it's possible that the extender hasn't been configured correctly. Reset the extender to its factory settings, then follow the setup process using the 192.168.10.1 wizard.
Resetting to factory settings will erase all your previously configured custom data.
Steps to reset to factory settings:
How to Access wifi.wavlink.com Login Page
To access the login page:
5. Change the Wireless Channel
Sometimes, the wireless channel on your router can interfere with the extender's signal. Changing the wireless channel may help resolve this issue. To change the extender's wireless channel, you need to log in to the Wavlink 192.168.10.1 setup page on a web browser and locate the wireless settings to change the network channel. (Refer to step 4 for instructions on accessing 192.168.10.1 setup.)
6. Upgrade the Extender's Firmware
Like other wireless extenders on the market, the Wavlink Wi-Fi extender also relies on firmware to function correctly. Therefore, if you're experiencing internet connection delays, we recommend upgrading the extender's firmware. To upgrade the firmware, you'll need to log in to the extender's web-based dashboard and access the firmware function from the menu. Please remember that the extender may turn on and off automatically during the firmware upgrade process, so don't panic. Also, do not disconnect the extender's power as this may lead to configuration errors.
Other Overlooked Issues:
Conclusion
In summary, you can take various troubleshooting steps to resolve connectivity issues with your Wavlink extender. If you encounter problems with your Wavlink extender not working, the above steps should reliably address the issue. By correctly executing these steps, you can fix the Wavlink extender not working problem. If you still can't resolve the issue, contact our customer support team, and they will assist you in the best possible way. Additionally, you can reach out to us anytime, and our dedicated staff will be happy to assist you.
Get the Scoop First
Subscribe to our official website to receive exclusive first-hand news and stay up-to-date on our new product releases and promotions!